To do this Ive bee using Photoshop CS5.1
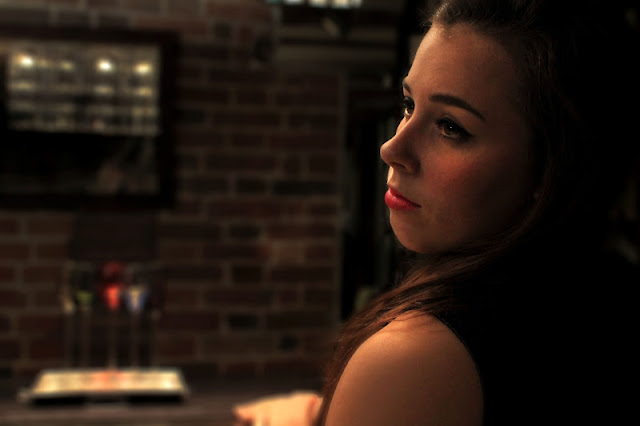
This is the first unedited photo I opened in photoshop and these are the step I took to make it look more professional:
- First I duplicated the layer
- Chose filter, blur, lens blur and set the radious to 60
- On the blurred layer I selected the eraser tool and set the opacity to 100% and rubbed out the face revealing the unblurred layer beneath. For the arms and edges of the face I set the opacity to 60%
- I then used the dodge tool to lighten the face and eyes
- I used the sponge tool to bring out the colour of the lips and the colour of the iris'
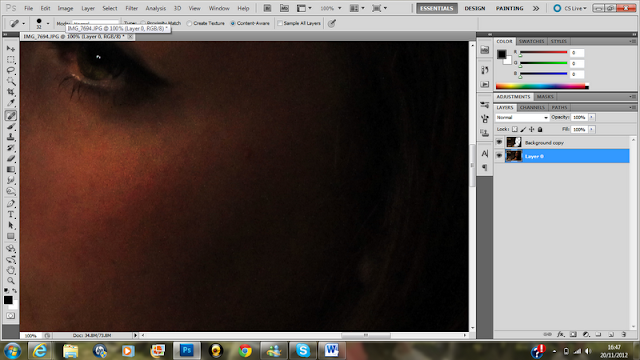
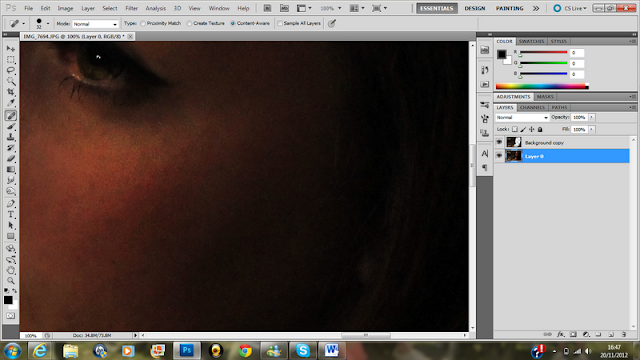
- I used the spot healing tool on her cheek and head just to hide a few inperfections - this is what editors do for popstars to make them fit the ideal and look desireable


 This is the end result, Which I think would work well inside of the digipak with songs typed on the left hand side.
 This is the second photo I edited which our group thought would be good for an album cover.
 - First again I duplicated layer and cropped off the edges
- I also agian selected filter, blur, lens blur and set the radious to 30
- I then erased the blur from her body
- I used the burn tool on an opacity of 20% to darken the background
- I then set the opacity to 30% and darkened her dress and shoes
- I used the sponge tool on her hair to stand out more
- I then zoomed in on her toe nails and used the clone to make sure her red nail varnish covered her whole toe.
- Finally I changed the levels and contrast and brightness to highlight certain areas of the image and so that the image would become more striking.
Some other images I have edited:


No comments:
Post a Comment